
Demonic Mace 3D Printed Prop.
I’ve always wanted to create props for others costumes/cosplays as that’s where my interest are. More so than dressing up anyways.
However I’ve not really got a lot of experience in modelling, assembling and painting ‘functional’ and durable props that would be handled majority of the time. So I first tried to think of something to model as a case study of sorts so I could hone my skills in these areas.
Scrolling through Pinterest for inspiration I stumbled across some artwork from RomeckArt for a demonic looking mace featuring protruding bones and ghoulish teeth in a mass of demonic flesh with tendrils swooping down a handle.
I decided this would be a good challenge for me as its organic modelling that will need to be in multiple parts, different textures and effects and would be a great project to complete as it would stress all of my knowledge just enough to make it a learning experience without loosing motivation and never completing it.


Modelling the Mace
Unfortunately I didn’t record my progress on modelling this particular project as I’m an idiot.
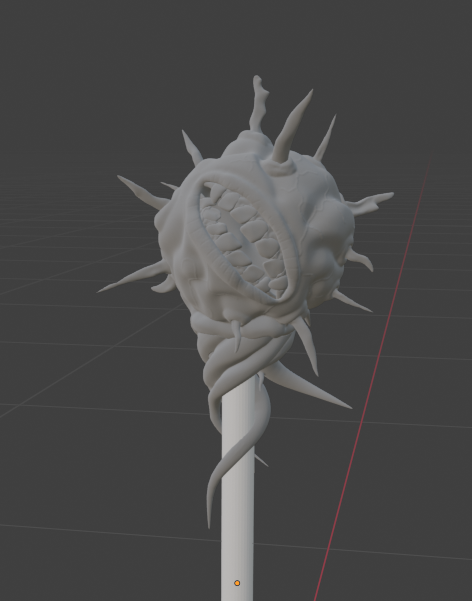
But essentially this project was handled completely in Blender’s Sculpting mode. something I’m not horrendously familiar with which was why I wanted to take on this challenge. Starting with a sphere and witling down a mouth and adding lumps all over was simple enough of a job, then sculpting veins and folds and muscles in the fleshy orb was a little more challenging as I’ve never done an ‘anatomy’ modelling before.
After adding teeth and some gums, it was time to model the bone fragments which again starting with a sphere and utilising Blender’s Snake Hook tool I was able to stetch out sharp pointed shapes and sculpting in some uneven dips in the ‘bones’ gave the a more natural look.
The tendrils where modelled in the same method just without the ‘un-evening’ process.
Printing the Model
Seeing as this was a personal project, I decided to use my own home 3D Printer, being a Bambu Lab A1 mini, one of the smallest printers I’ve ever used. Again I have reasons for this foolish choice of machine.
I’m aware that a lot of my projects always need to be split into multiple parts as they usually are bigger than print bed and as a result there are always seams with this projects. I detest seams with every fibre of my being and have tried hundreds of methods to conceal these imperfections. And while they work, they take many hours of sanding an prepping to get perfect; however I found epoxy clay recently and wanted to demo it as I have a large project on the horizon that will have may seams.
From what I’ve read epoxy clay is the pinnacle of seam filler for joining models with minimal prep and little sanding to achieve a smooth surface. So printing this model on too small a machine gives me the perfect excuse to test this new product and method of seam filling.
All bone fragments were individual parts, The main fleshy orb was cut in half, tendrils were printed all together as one part and both handle decorations were printed separately.
Totalling 29 parts total; and approximately 28 hours of printing.

Assembly
After Printing all the parts it was time to assemble the model. Starting with the main fleshy body, I had set pins inside the model to ensure that both half’s would align properly, then filling the mating surfaces with epoxy adhesive and clamping them down. That secured the two parts and then filling the seam with the new epoxy clay and feathering the edges down with water and a brush to ensure smooth transitions. That was the process for joining those two parts.
As for fitting the bone fragments. I has sculpted the bones to have bulbous ends and pockets in the fleshy orb so they could ‘pop’ in and secure themselves to ensure they wouldn’t be able to comeback out once in.
Now for those with an imagination, you must be thinking;
“How did you get the bulb in from the outside since you cant slot them in from behind now?”
Well I used the best characteristic of this plastic (PLA) to my advantage; I grabbed a blow torch and heated up the sockets and was able to plop the fragments into their holes and mould the plastic socket into a snug fit ensuring the fragments were forever secured in the model once it had cooled down.
Tidying up and distorted edges with more epoxy clay this method ensured a much more secure fit of these bones that just a simple pin and socket approach as the surface area would be a lot less and any knocks would likely just snap the connectors.
Again the tendrils were epoxy glued in place and then smoothed out into the fleshy mass with more special clay to create a smooth transition.
Painting
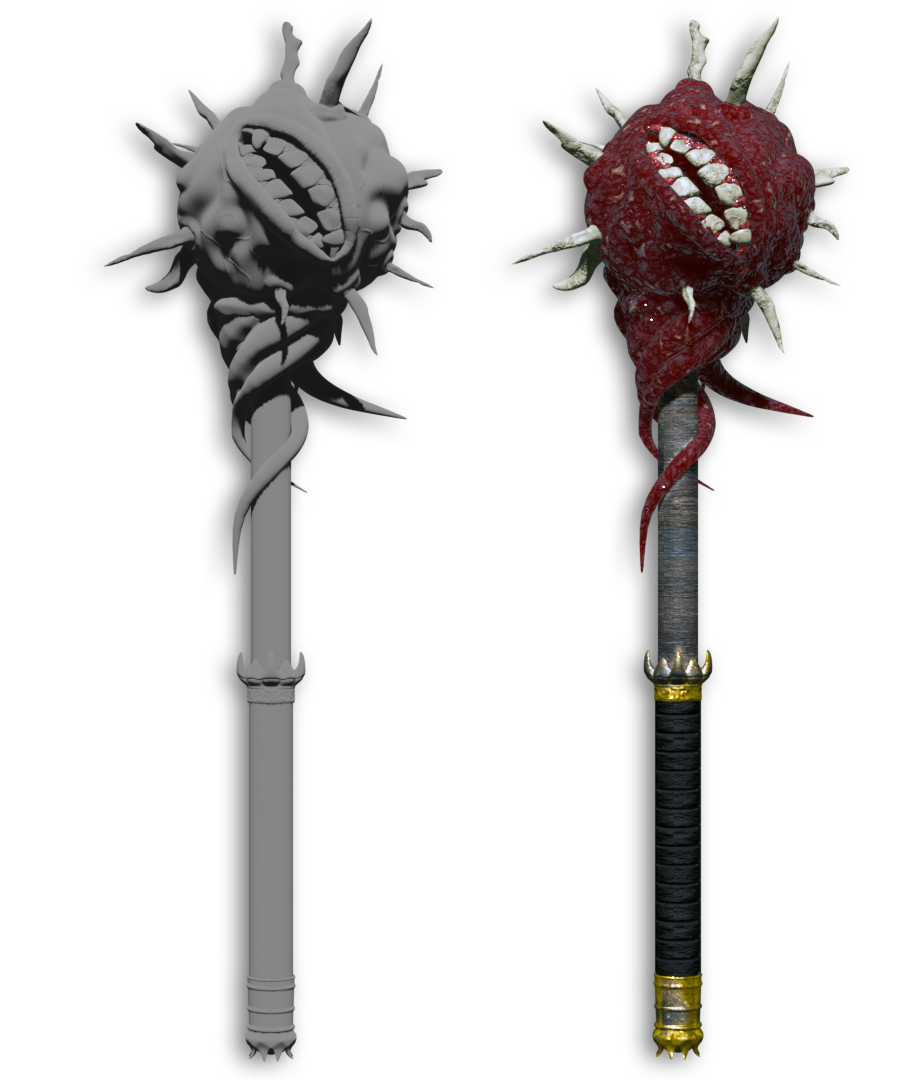
Armed with an airbrush and some of ASDA’s cheapest brushes I got to work. Giving the whole model a base dark red and black highlight coat and hand painting the teeth and bones in some off white paint. I was then able to ‘layer’ thin coats of different reds and blacks on top with the airbrush to create an uneven and more organic flow to the models surface making it look more demonic and ‘wet’.
Regarding the lips, I wanted to create a textured gradient so I painted the inner lips white to then later stain with a magenta before spraying more red overtop, hoping that it would show through once more coats were applied.


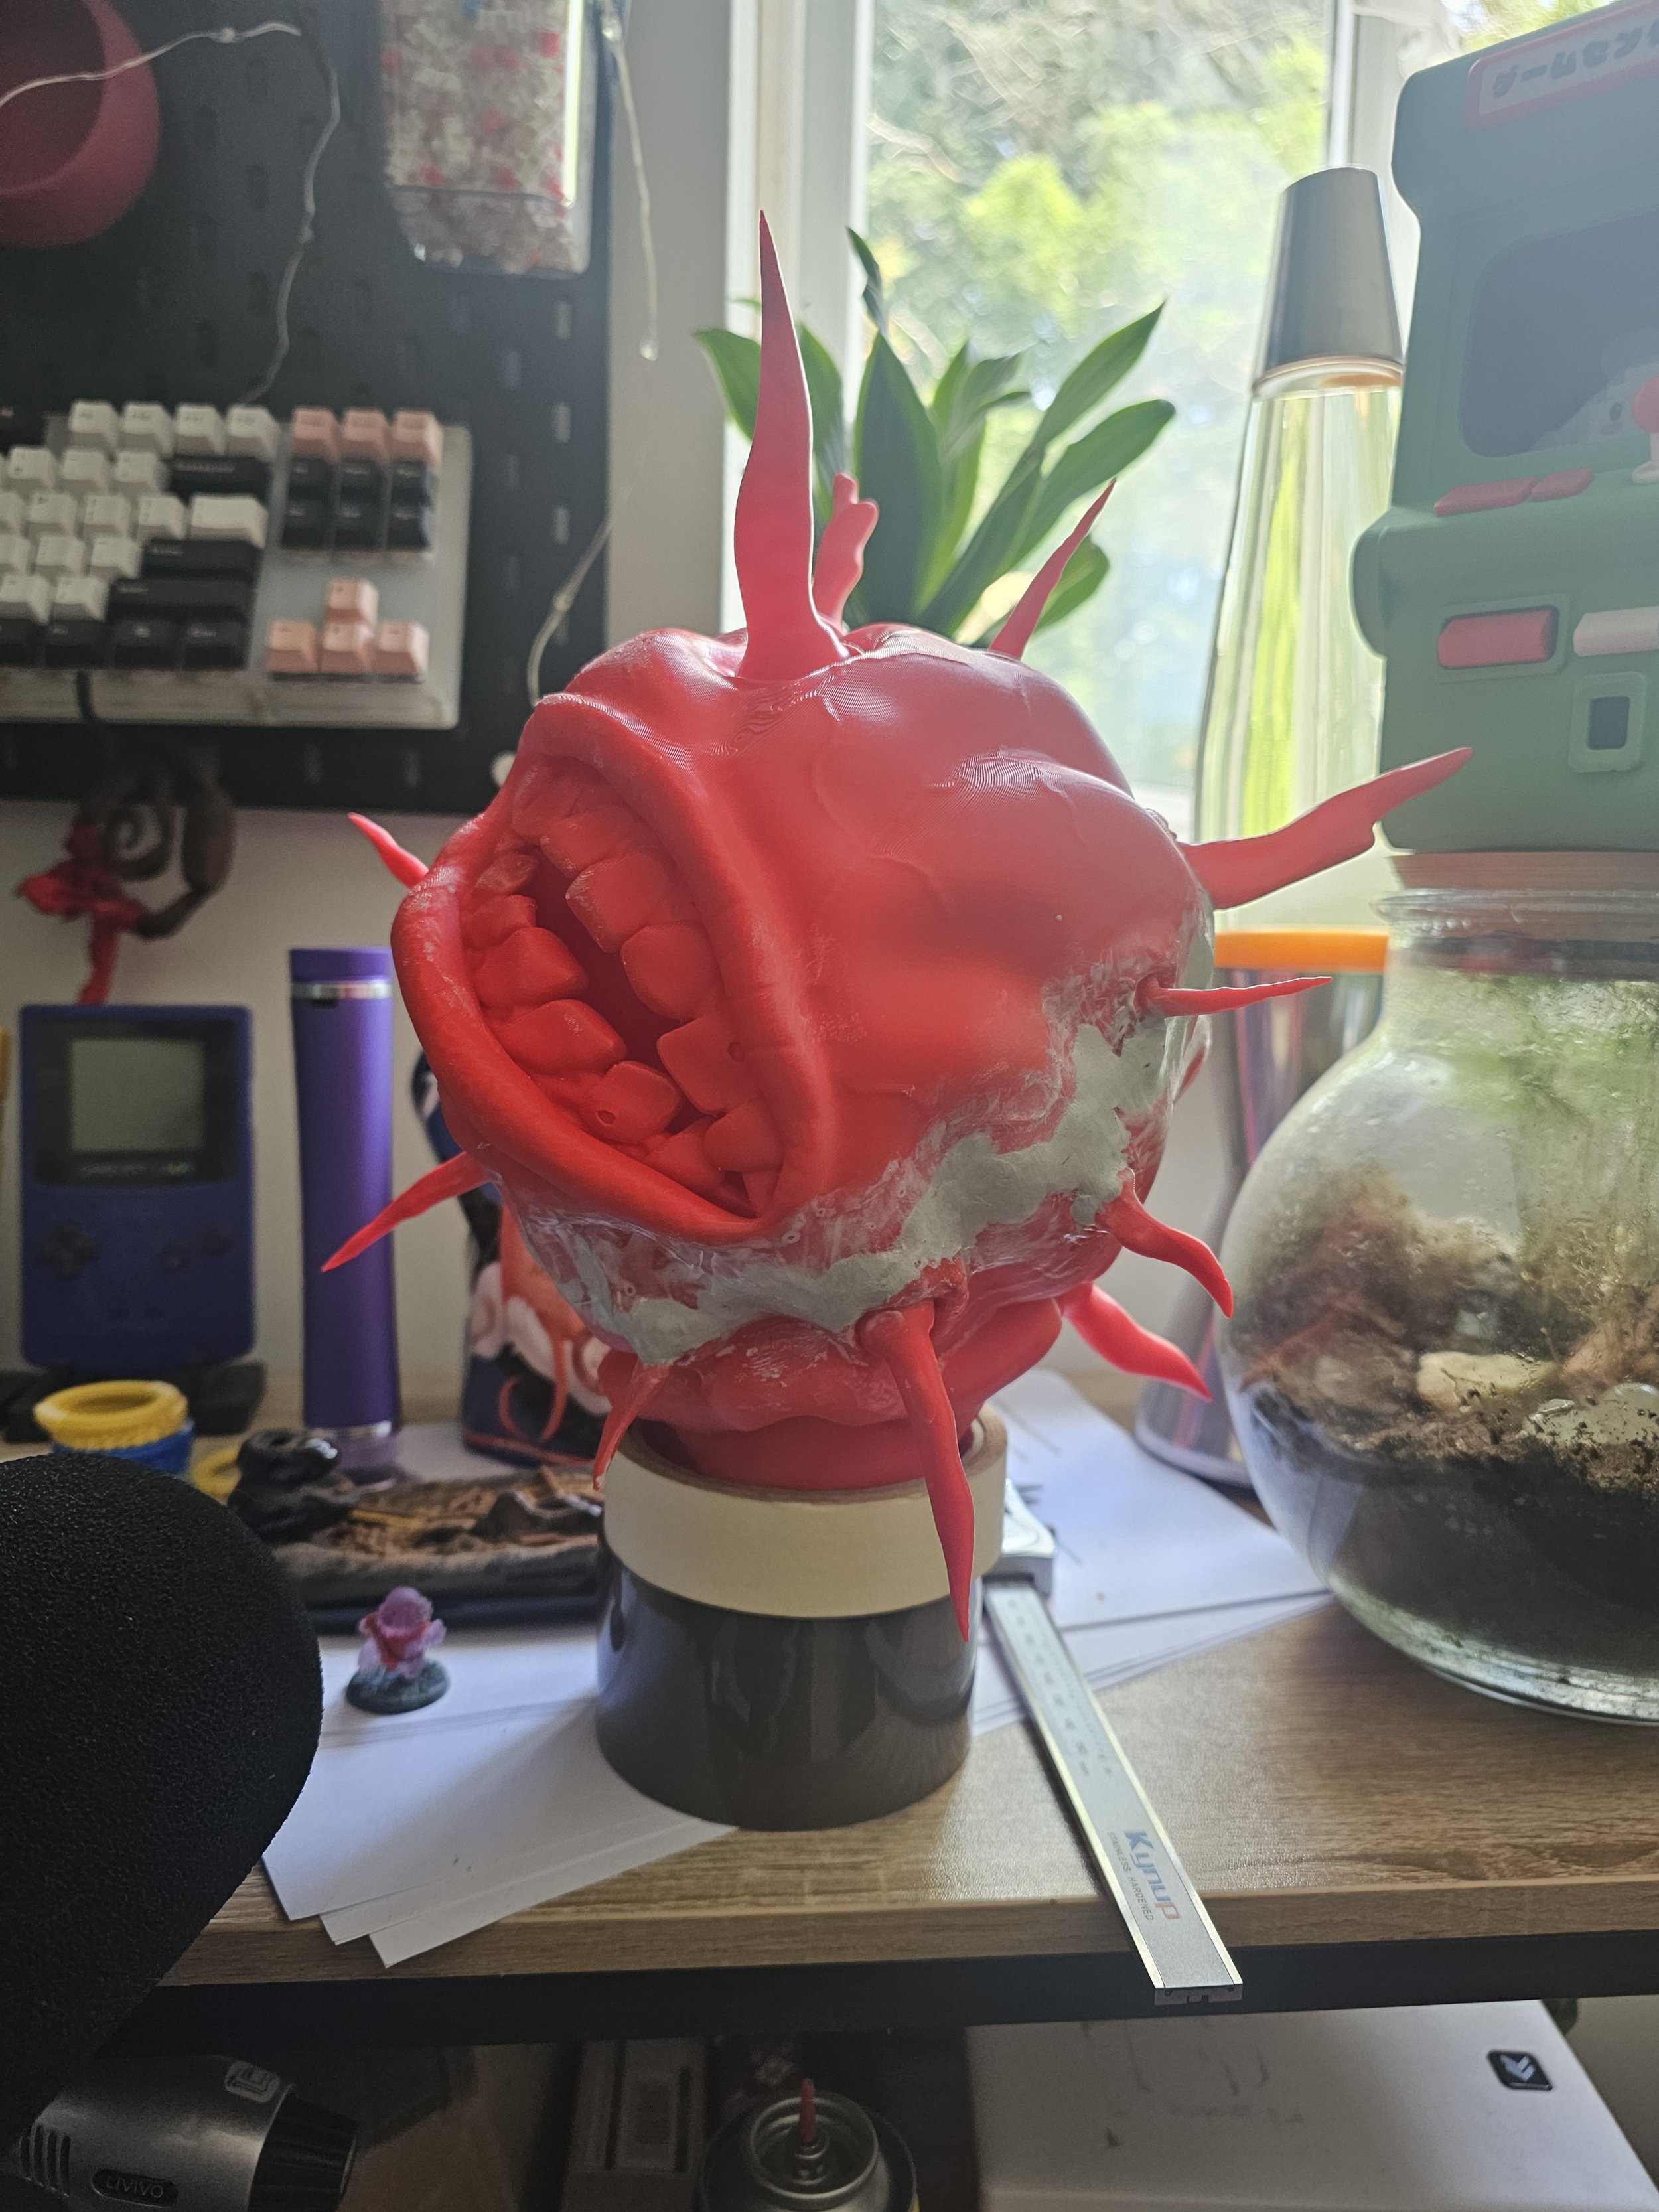
(Please ignore the wire nest that is my bedside table)
Pictured here is the model fully assembled before the final finishing touches of paint were applied. Mounted on a 30mm diameter wooden dowel at 200mm in length that i had taken my blow torch too to give it a more battle damaged appearance to suit the demon perched on the end of it. Faux leather strips wrapped around the base of the handle secured in place with epoxy and the 3D printed hilt ends painted in a rub and buff antique gold colour. And finally a metal chain with screws into the plastic at the end to just add a bit of ‘wow that’s quality’ factor.

Final Product
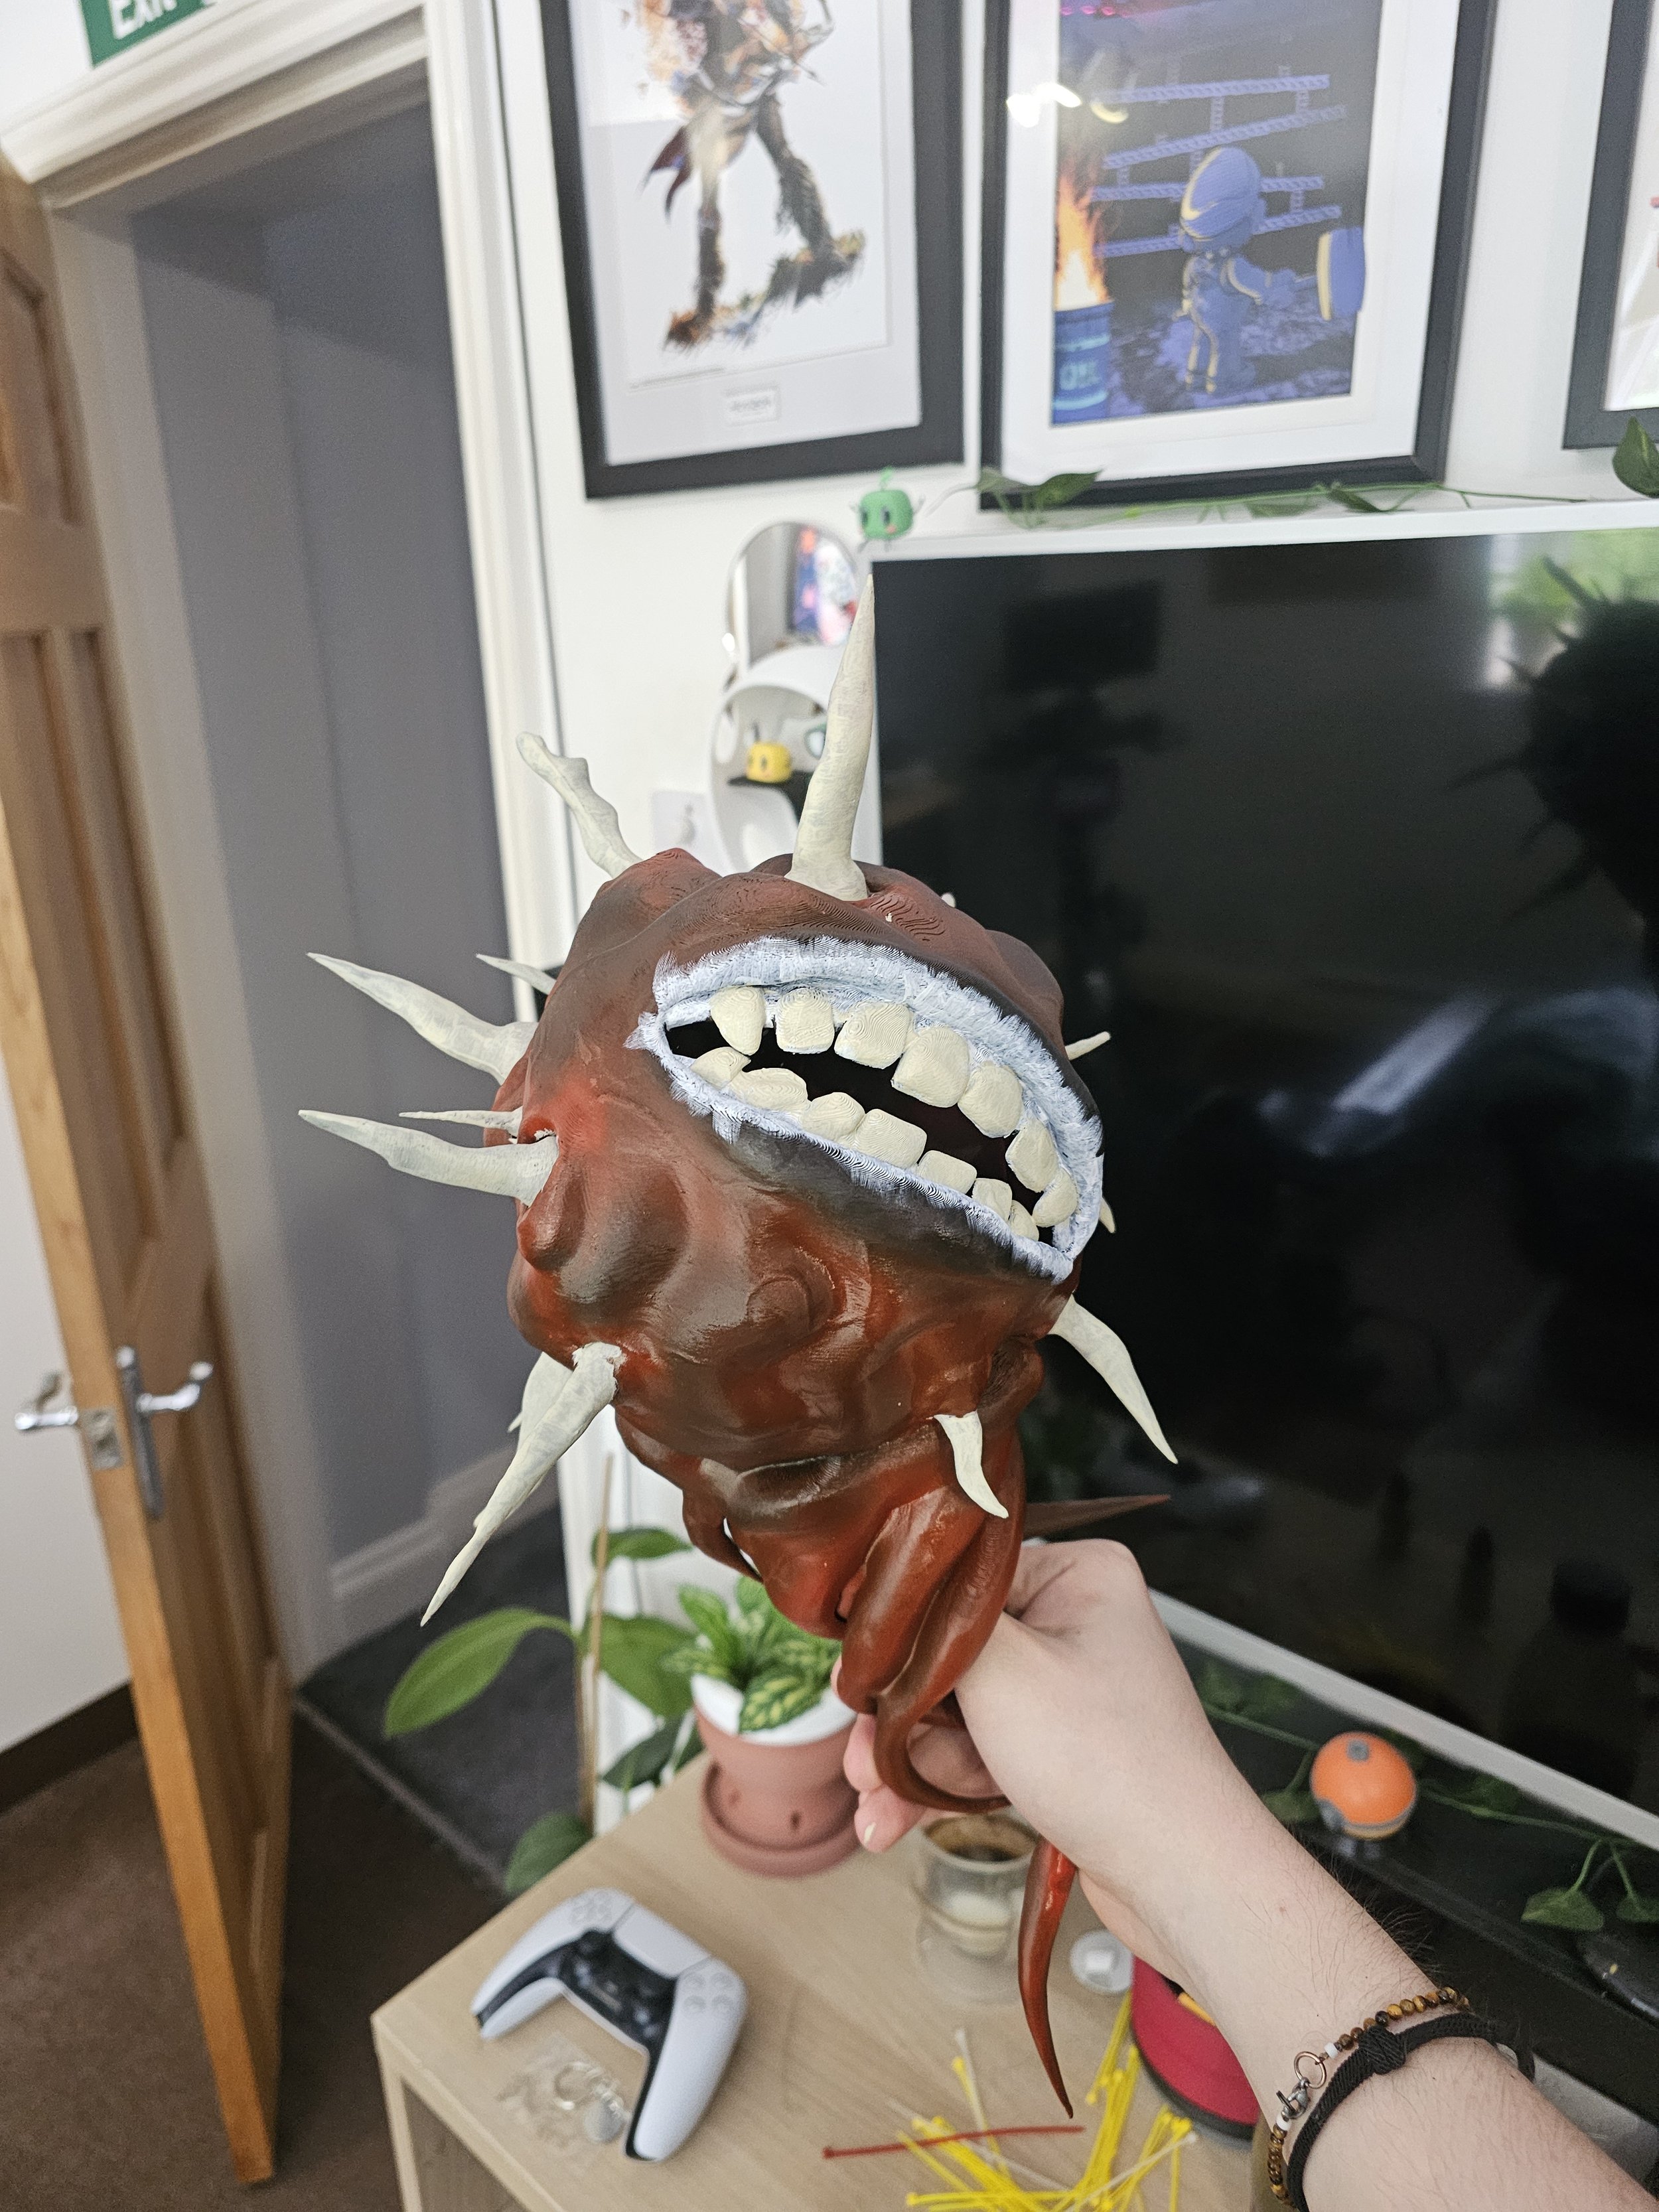
After about a weeks worth of printing, assembly and painting later I had finished my first every cosplay prop style project. It’s safe to say a learnt a lot about organic modelling within Blender and I’ve found my new favourite way of seam filling my models, as the seam is simply not visible on this model and you’d never guess that it is in fact in two parts.
The final touches included adding some bloodstains to the bone fragments, enhanced the shading on the tendrils and teeth, as well as painting the veins of the model with a dark purple to make them look more prevalent and realistic. Blood was also painted on the wooden handle to make is appear that the flesh orb is a messy leaky entity.
Over all the model including handle measured at approx. 80cm tall and while it is still plastic and one hit would likely break the model it does weight just under 3kgs and the bone fragments are surprisingly sharp; so its safe to say this is my new weapon of choice for home invaders for pure intimidation factor alone.


